How We Added Power to a Kitchen Island with Underfloor Heating
When we bought the house, the kitchen island looked great. Big worktop, plenty of storage, nice central position in the room.
After moving in, we noticed one fairly annoying problem: the previous owner had decided not to put any sockets on it.
That meant no easy place to plug in a mixer, charge a phone, use a laptop, or run any of the little kitchen gadgets that somehow become essential the moment you do not have a socket nearby.
After sorting the water problem we found under the house, we had already had a good look beneath the floor. From there, we could see a possible route from the consumer unit to underneath the island. In theory, that made the job possible.
In practice, it meant crawling through water, muck, and the kind of under-house grime that makes you question every DIY decision you have ever made.
So we looked for another way.
The problem: underfloor heating
The kitchen has underfloor heating, which adds an extra layer of worry to any job involving cutting into the floor.
Drilling or cutting blindly into a floor with heating pipes underneath is not something you want to do. One bad cut and a simple wiring job can quickly become a very expensive plumbing repair.
So before touching the floor, we used this IR camera.
This was invaluable.
With the heating on, the camera helped us see where the warm pipes were running beneath the floor. More importantly, it showed us where they were not.
That gave us much more confidence when choosing where to cut.
Finding the safest route
The aim was to get a cable from the island back towards the consumer unit.
We worked out that the best place to go through was on the old house side of the extension. That way, we avoided the area where the external wall footings were likely to be.
Once we had checked the pipe layout with the IR camera, we carefully cut through the floor and insulation in the chosen spot. What's crazy was the 150mm insulation we had to cut through, using a hole saw and breaking bits of insulation off to get deeper down.
This was definitely one of those measure-five-times, cut-once jobs.
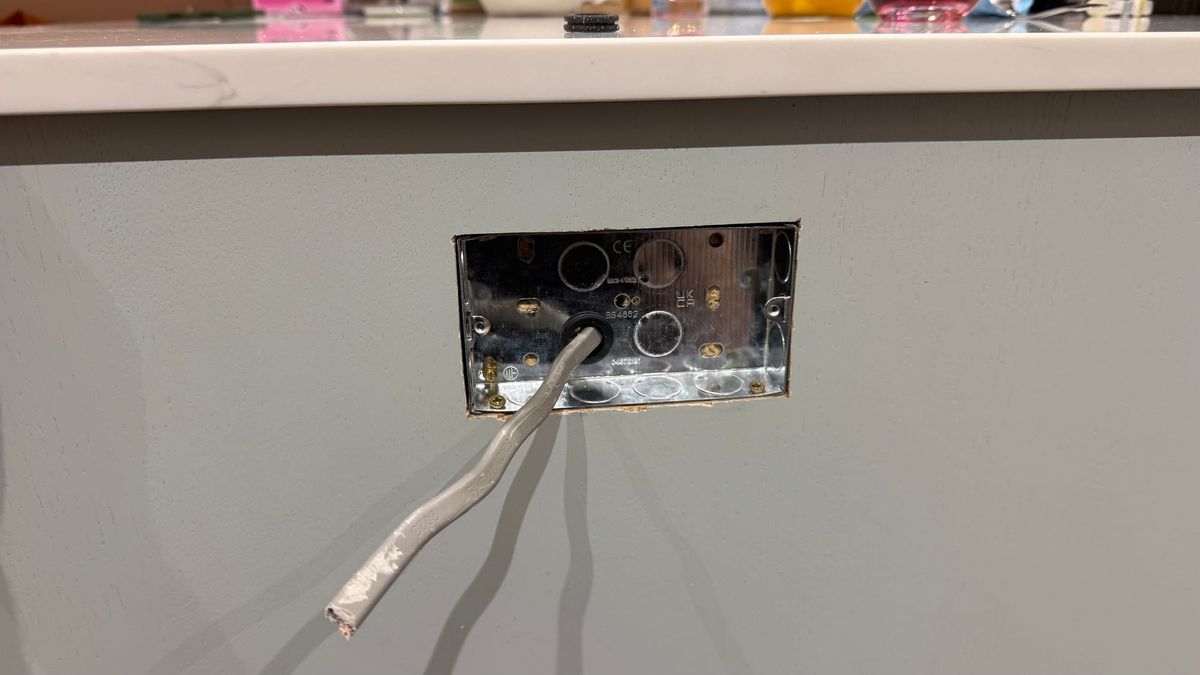
Pulling the cable through
Once we had access, the next challenge was getting the cable through the route without having to crawl underneath the whole house.
For this, cable pull rods - light weight, strong and bendy, perfect for pushing through the awkward void and guiding the cable back towards the consumer unit.
Instead of dragging ourselves through muck and standing water, we could feed the rods through, attach the cable, and pull it into position.
Much better.
Why the IR camera was the hero of the job
The pull rods made the cable routing possible, but the IR camera made the job feel safe and showed us where we could actually drill.
Without it, we would have been guessing where the underfloor heating pipes were. With it, we could clearly check the warm pipe runs before cutting.
For any DIY job involving floors, walls, or ceilings where hidden services might be present, an IR camera is one of those tools that feels like overkill until the exact moment it saves you from disaster.
Tools used
- IR camera for checking underfloor heating pipe locations
- Cable pull rods for feeding the cable through the void
- Makita multi-tool to cut through the cupboard floor
- Torch or work light
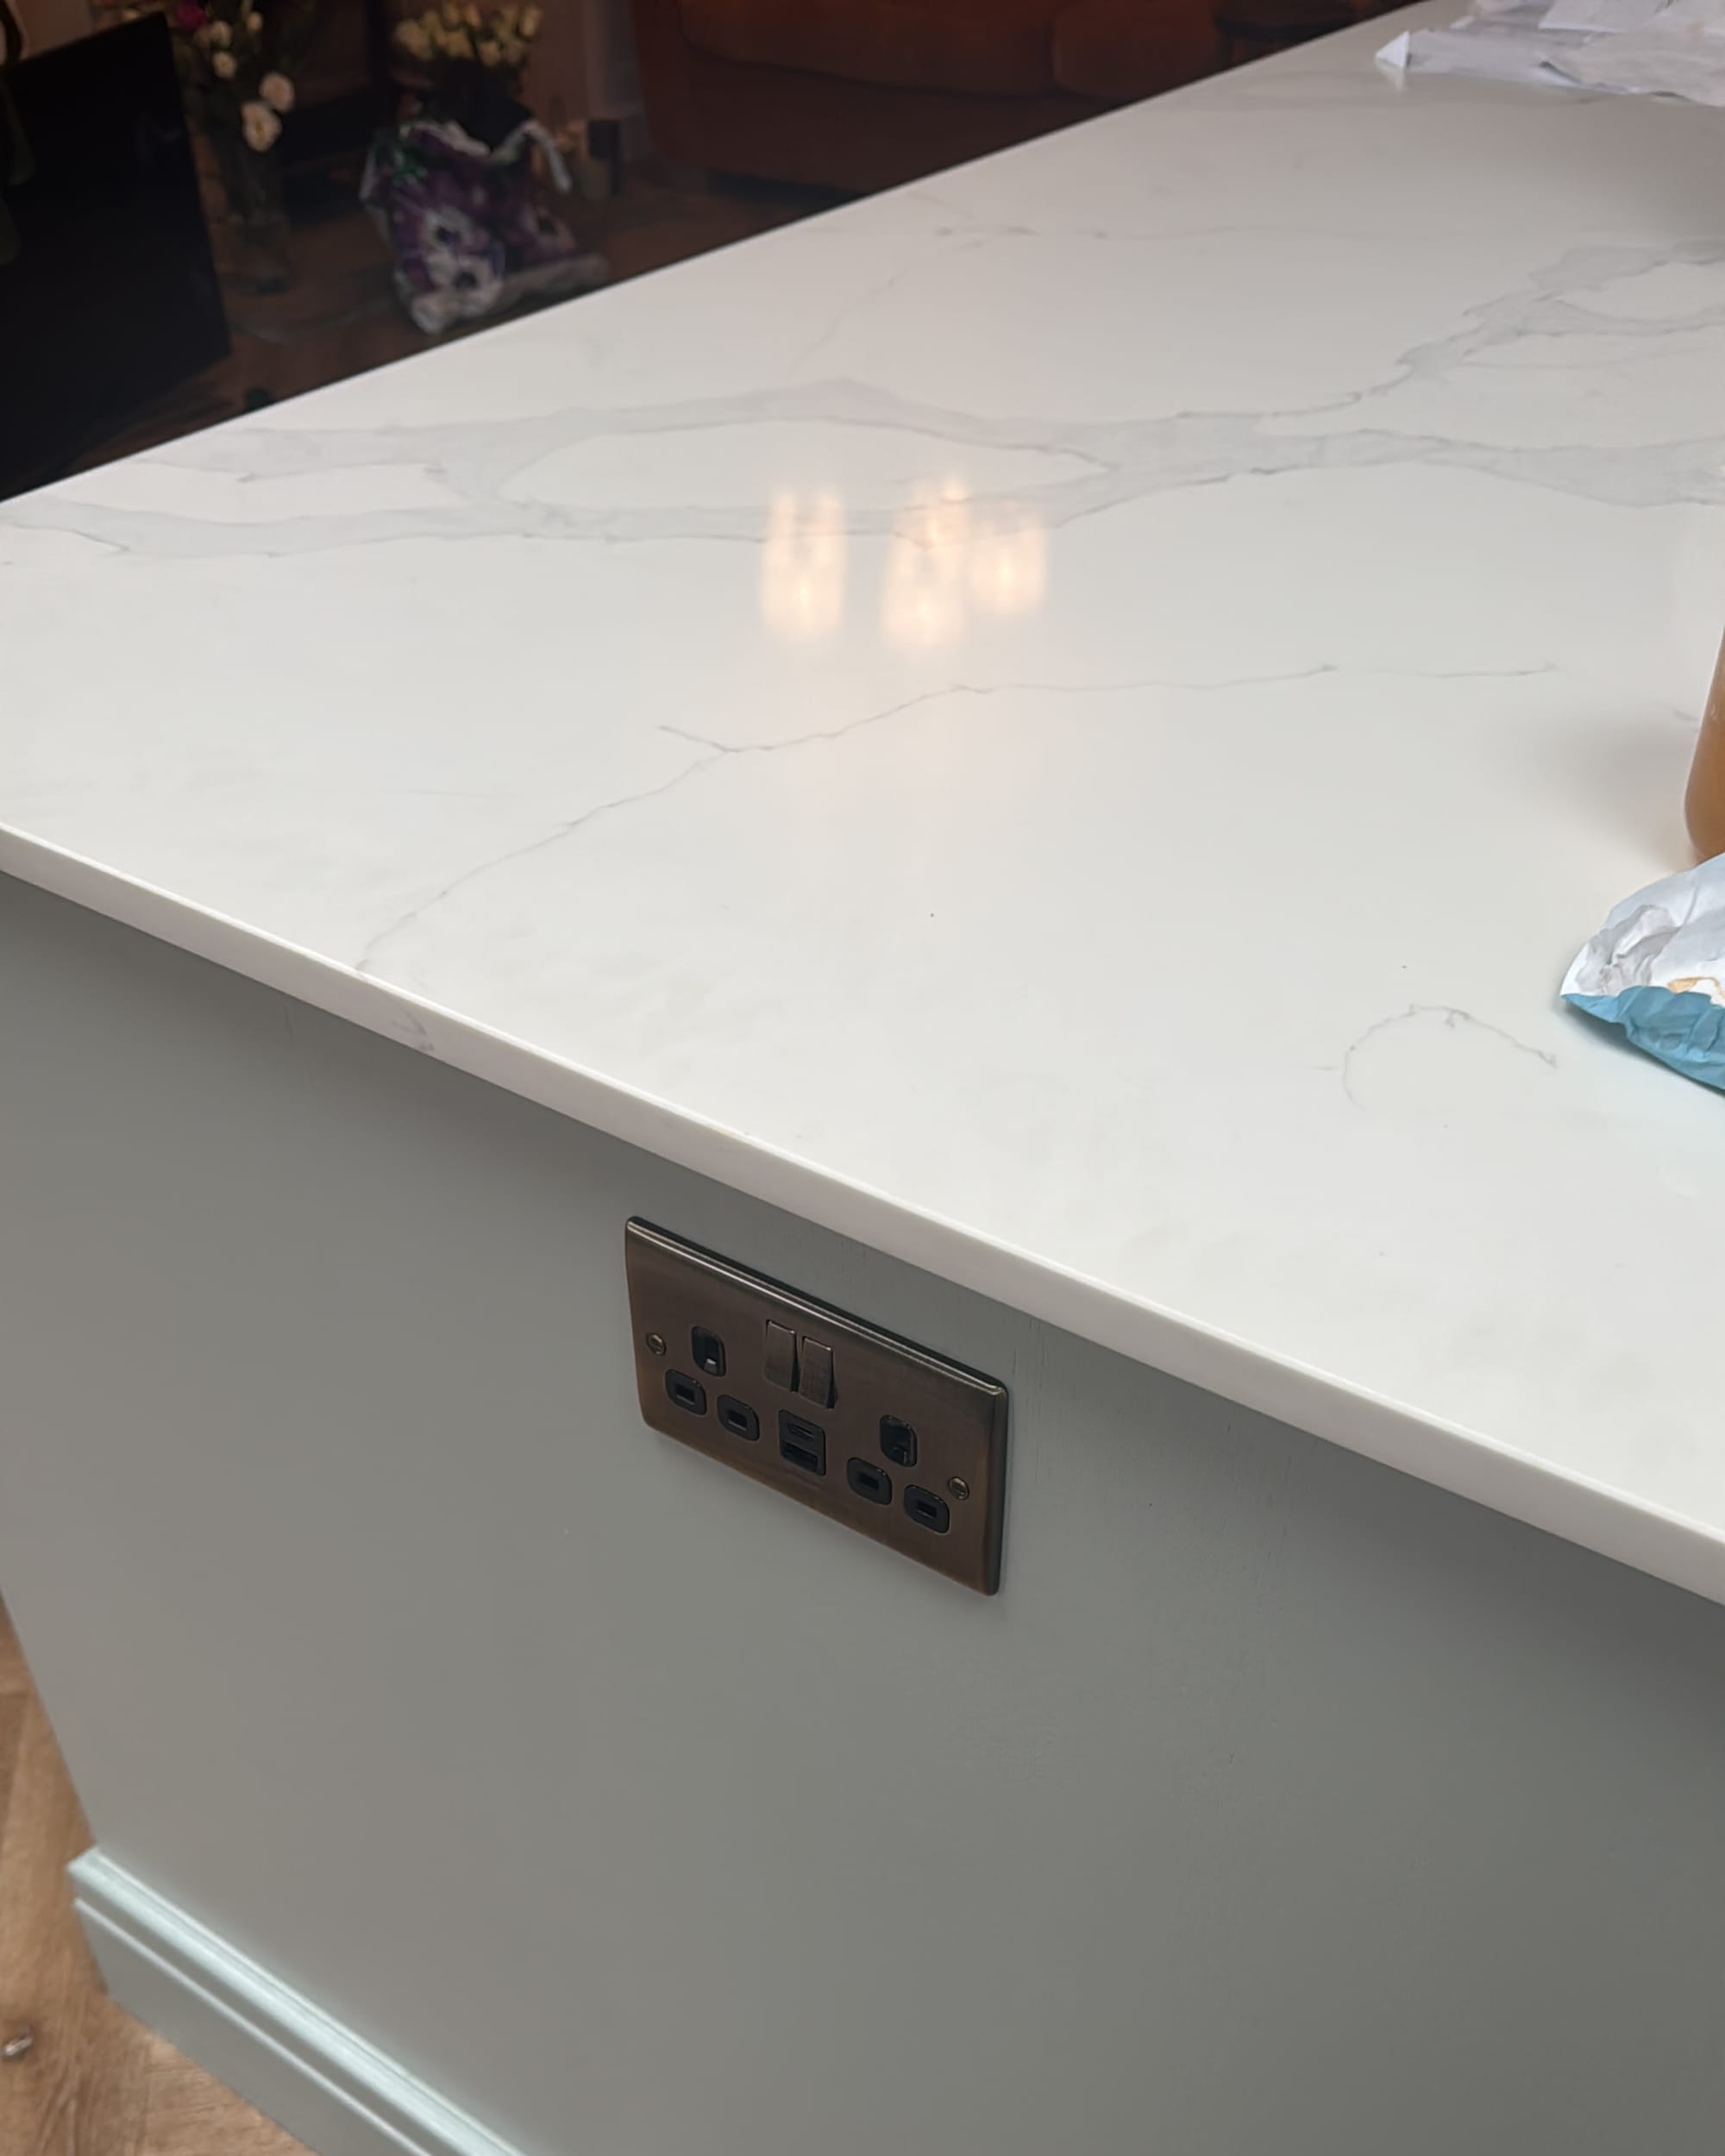
Final thoughts
This job started with a simple annoyance: a kitchen island with no sockets.
Because of the underfloor heating, it could easily have become a much bigger problem. The IR camera gave us the confidence to avoid the heating pipes, and the pull rods saved us from crawling through the horrible under-house void.
Sometimes the right tool does not just make a job easier. It makes the job possible.
We spent about 3 hours trying to use the wrong tolls (broom handles taped together) to try get this right, doh!